Apollo(阿波罗)是携程框架部门研发的分布式配置中心,能够集中化管理应用不同环境、不同集群的配置,配置修改后能够实时推送到应用端,并且具备规范的权限、流程治理等特性,适用于微服务配置管理场景。服务端基于 Spring Boot 和 Spring Cloud 开发,打包后可以直接运行,不需要额外安装 Tomcat 等应用容器。
Apollo开源地址:https://github.com/ctripcorp/apollo
更多产品介绍可以查看Apollo 配置中心介绍,本篇主要介绍在 .NET 环境下如何使用 Apollo 配置中心。
Quick Start
- 本地部署:https://github.com/ctripcorp/apollo/wiki/Quick-Start
- Docker 部署:https://github.com/ctripcorp/apollo/wiki/Apollo-Quick-Start-Docker部署
- 分布式部署:https://github.com/ctripcorp/apollo/wiki/分布式部署指南
为了方便,本次我选择使用 Docker 部署,快速运用。
另外需要说明的是,不管是 Docker 方式部署 Quick Start 还是常规方式部署的,Quick Start 只是用来快速入门、了解 Apollo。如果部署 Apollo 在公司中使用,请参考分布式部署。
请确保开发环境有 docker 环境,然后下载docker-compose.yml和所需的 sql 文件,然后在根目录执行docker-compose up,一次执行会触发下载镜像等操作,需要耐心等待一些时间。
version: "2"

services:
  apollo-quick-start:
    image: nobodyiam/apollo-quick-start
    container_name: apollo-quick-start
    depends_on:
      - apollo-db
    ports:
      - "8080:8080"
      - "8070:8070"
    links:
      - apollo-db

  apollo-db:
    image: mysql:5.7
    container_name: apollo-db
    environment:
      TZ: Asia/Shanghai
      MYSQL_ALLOW_EMPTY_PASSWORD: "yes"
    depends_on:
      - apollo-dbdata
    ports:
      - "13306:3306"
    volumes:
      - ./sql:/docker-entrypoint-initdb.d
    volumes_from:
      - apollo-dbdata

  apollo-dbdata:
    image: alpine:latest
    container_name: apollo-dbdata
    volumes: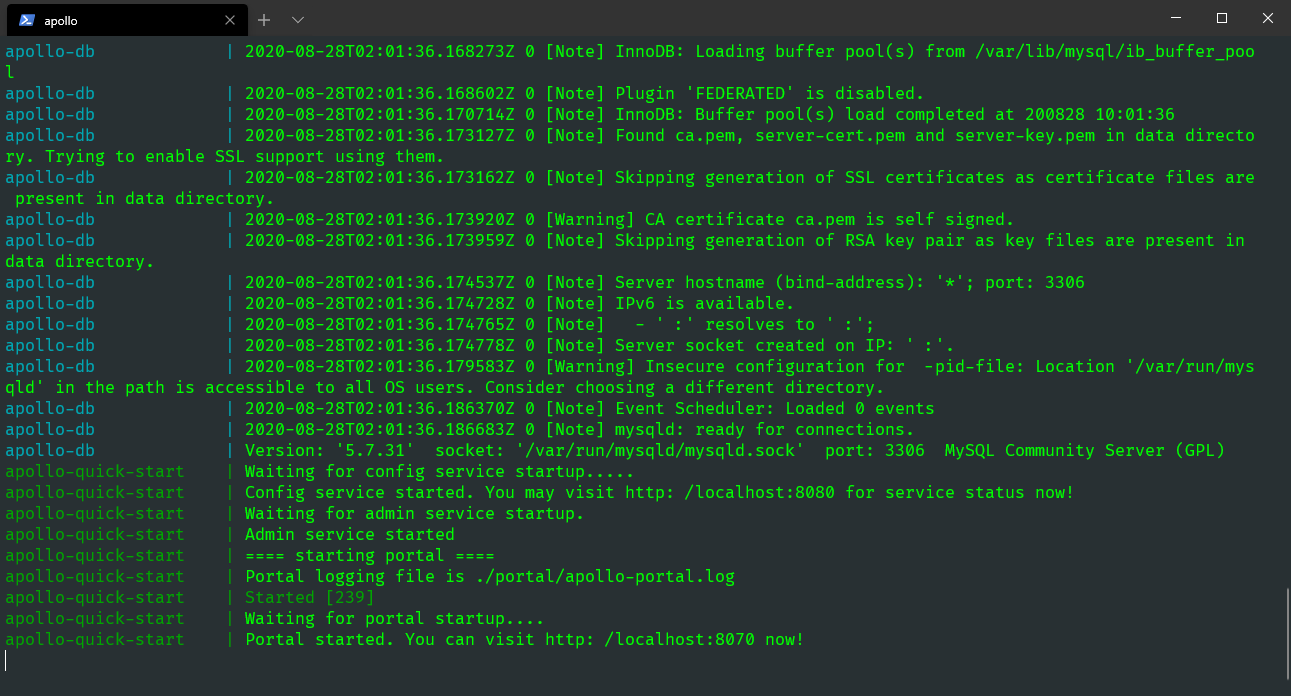
- /var/lib/mysql搜索所有apollo-quick-start开头的日志,看到以下日志说明启动成功:
apollo-quick-start    | Waiting for config service startup.....
apollo-quick-start    | Config service started. You may visit http://localhost:8080 for service status now!
apollo-quick-start    | Waiting for admin service startup.
apollo-quick-start    | Admin service started
apollo-quick-start    | ==== starting portal ====
apollo-quick-start    | Portal logging file is ./portal/apollo-portal.log
apollo-quick-start    | Started [239]
apollo-quick-start    | Waiting for portal startup....
apollo-quick-start    | Portal started. You can visit http://localhost:8070 now!
数据库的端口映射为 13306,所以如果希望在宿主机上访问数据库,可以通过 localhost:13306,用户名是 root,密码留空。如要查看更多服务的日志,可以通过 docker exec -it apollo-quick-start bash 登录, 然后到/apollo-quick-start/service 和/apollo-quick-start/portal 下查看日志信息。
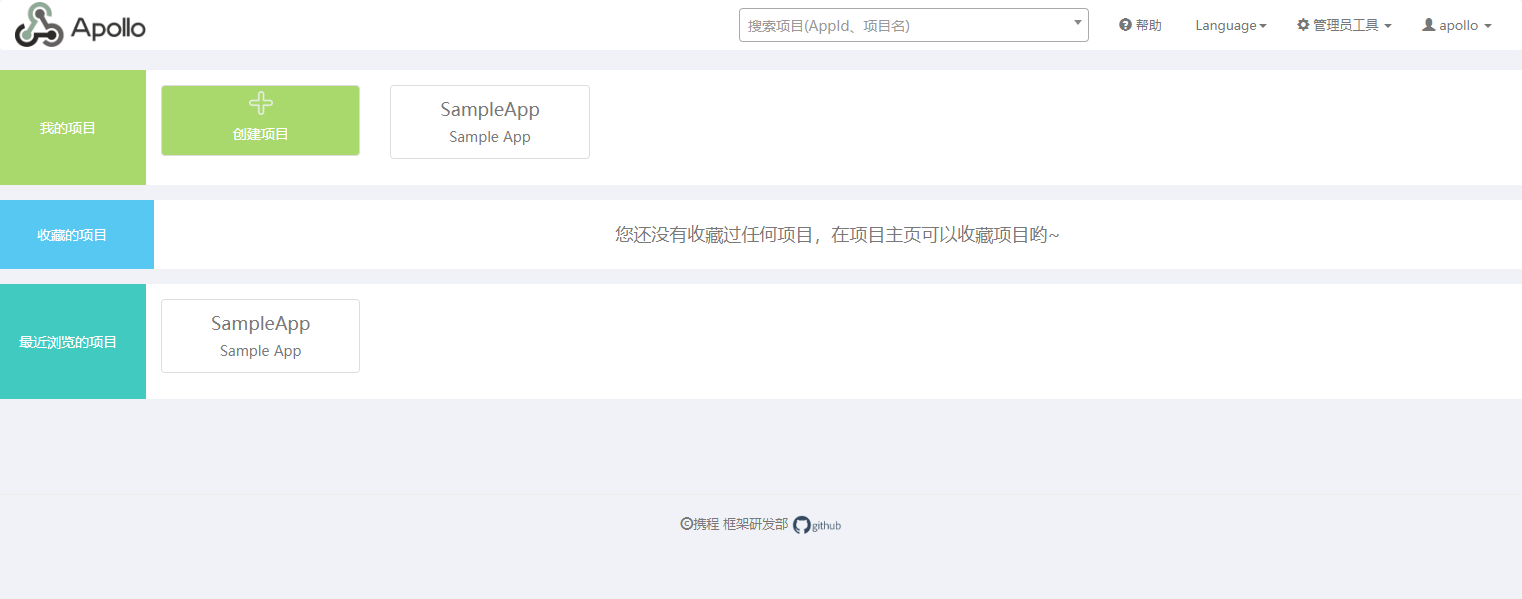
访问http://localhost:8070,可以看到ApolloUI 界面,默认账号密码为:apollo/admin
.NET Core 接入
新建一个 ASP.NET Core API 项目,ApolloDemo,添加组件Com.Ctrip.Framework.Apollo.Configuration。
Install-Package Com.Ctrip.Framework.Apollo.ConfigurationApollo配置中心的 .NET 集成包开源地址:https://github.com/ctripcorp/apollo.net/tree/dotnet-core
接入也比较简单,在appsettings.json中配置Apollo服务地址。
{
  "Apollo": {
    "AppId": "ApolloDemo",
    "Env": "DEV",
    "MetaServer": "http://localhost:8080",
    "ConfigServer": ["http://localhost:8080"]
  }
}关于配置可以查看文档:https://github.com/ctripcorp/apollo.net/tree/dotnet-core/Apollo.Configuration
为什么地址端口是 8080 而不是 8070?
因为在docker-compose.yml中我们暴露两个端口:8080 个 8070,8070 是我们的Apollo配置中心管理界面,而 8080 端口是Spring Eureka服务注册中心。所以配置的应该是服务端的地址。
紧接着在Program.cs应用配置,代码如下:
{18-23}using Com.Ctrip.Framework.Apollo;
using Com.Ctrip.Framework.Apollo.Logging;
using Microsoft.AspNetCore.Hosting;
using Microsoft.Extensions.Configuration;
using Microsoft.Extensions.Hosting;

namespace ApolloDemo
{
    public class Program
    {
        public static void Main(string[] args)
        {
            CreateHostBuilder(args).Build().Run();
        }

        public static IHostBuilder CreateHostBuilder(string[] args) =>
            Host.CreateDefaultBuilder(args)
                .ConfigureAppConfiguration((hostingContext, builder) =>
                {
                    LogManager.UseConsoleLogging(LogLevel.Trace);

                    builder.AddApollo(builder.Build().GetSection("Apollo")).AddDefault();
                })
                .ConfigureWebHostDefaults(webBuilder =>
                {
                    webBuilder.UseStartup<Startup>();
                });
    }
}
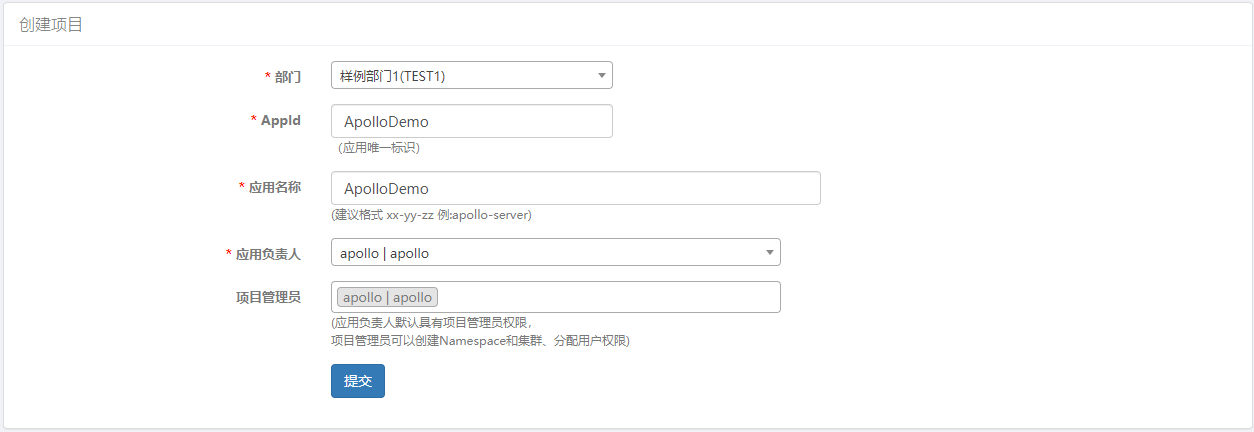
然后我们在Apollo管理界面新建一个与配置在appsettings.json中 AppId 同名的项目ApolloDemo。
Apollo有一个核心的概念:Namespace。
Namespace是配置项的集合,类似于一个配置文件的概念。Namespace类型有三种:私有类型、公共类型、关联类型(继承类型)。Namespace的获取权限分为两种:private (私有的)、public (公共的),这里的获取权限是相对于 Apollo 客户端来说的。
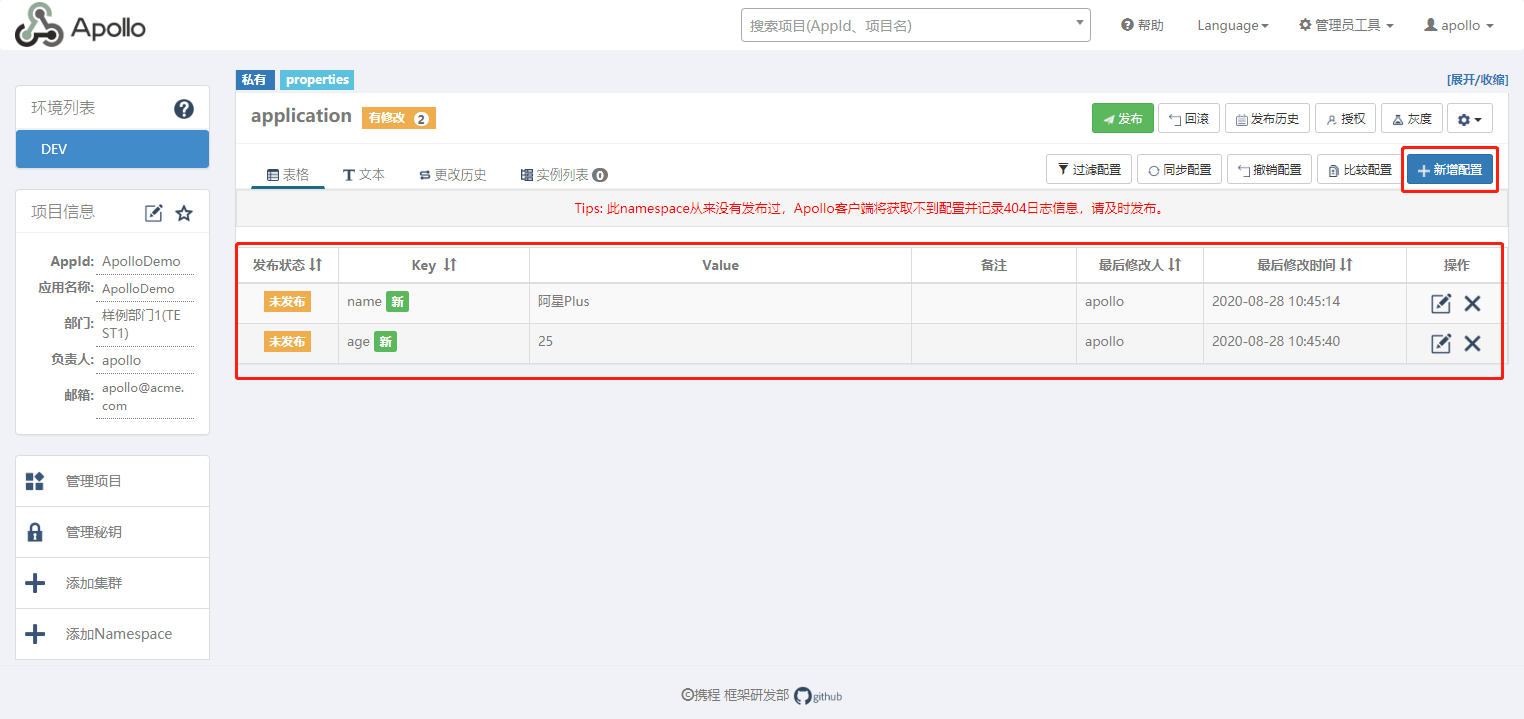
配置文件有多种格式,例如:properties、xml、yml、yaml、json 等。同样 Namespace 也具有这些格式。在 Portal UI 中可以看到“application”的 Namespace 上有一个“properties”标签,表明“application”是 properties 格式的。
非 properties 格式的 namespace,在客户端使用时需要调用 ConfigService.getConfigFile(String namespace, ConfigFileFormat configFileFormat)来获取,如果使用 Http 接口直接调用时,对应的 namespace 参数需要传入 namespace 的名字加上后缀名,如 datasources.json。
apollo-client 1.3.0 版本开始对 yaml/yml 做了更好的支持,使用起来和 properties 格式一致:Config config = ConfigService.getConfig(“application.yml”);,Spring 的注入方式也和 properties 一致。
关于 Namespace`的文档:https://github.com/ctripcorp/apollo/wiki/Apollo核心概念之“Namespace”
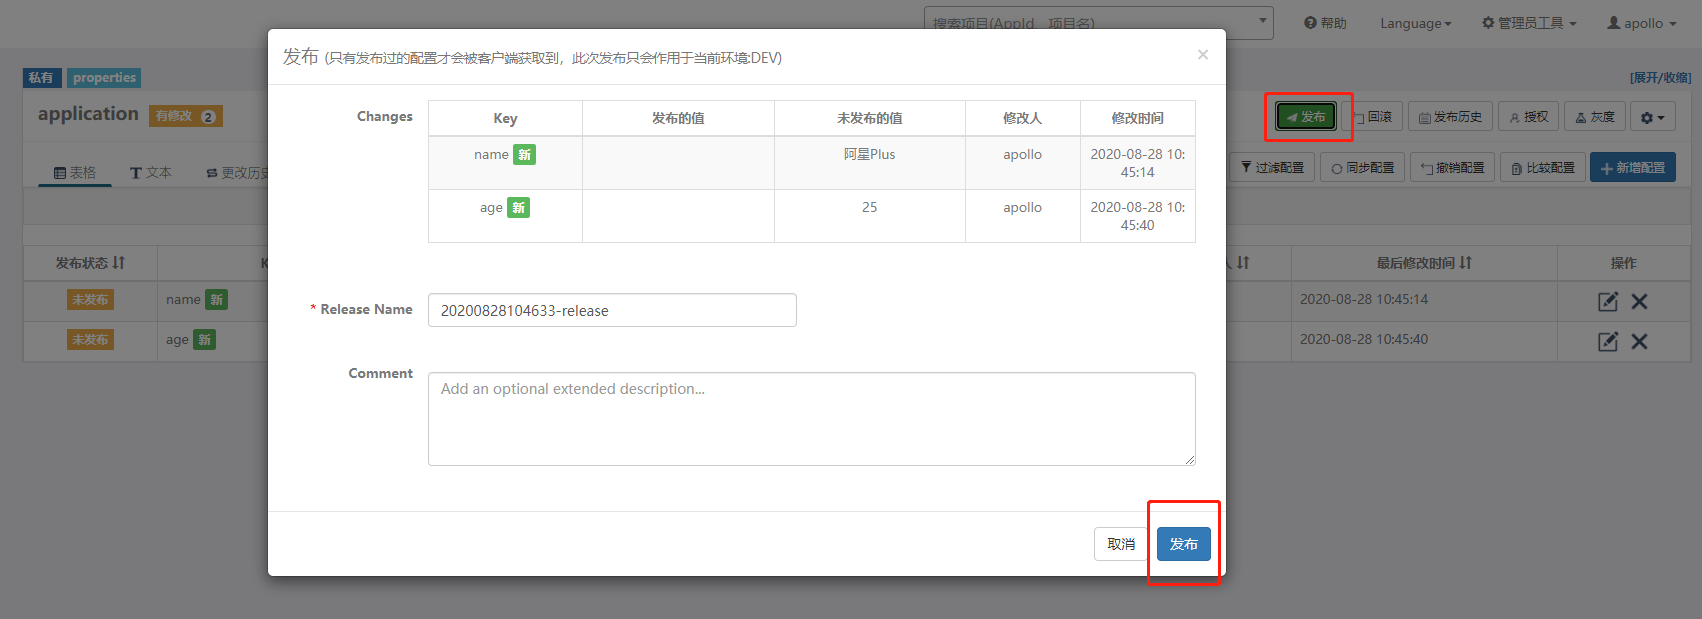
接下来去新增几个配置属性,然后发布。
现在去写一个接口,来实时读取Apollo中的配置。
using Microsoft.AspNetCore.Mvc;
using Microsoft.Extensions.Configuration;
namespace ApolloDemo.Controllers
{
[Route("api/[controller]")]
[ApiController]
public class ValuesController : ControllerBase
{
[HttpGet]
[Route("Apollo")]
public IActionResult ApolloTest([FromServices] IConfiguration configuration, string key)
{
return Content(configuration.GetValue<string>(key));
}
}
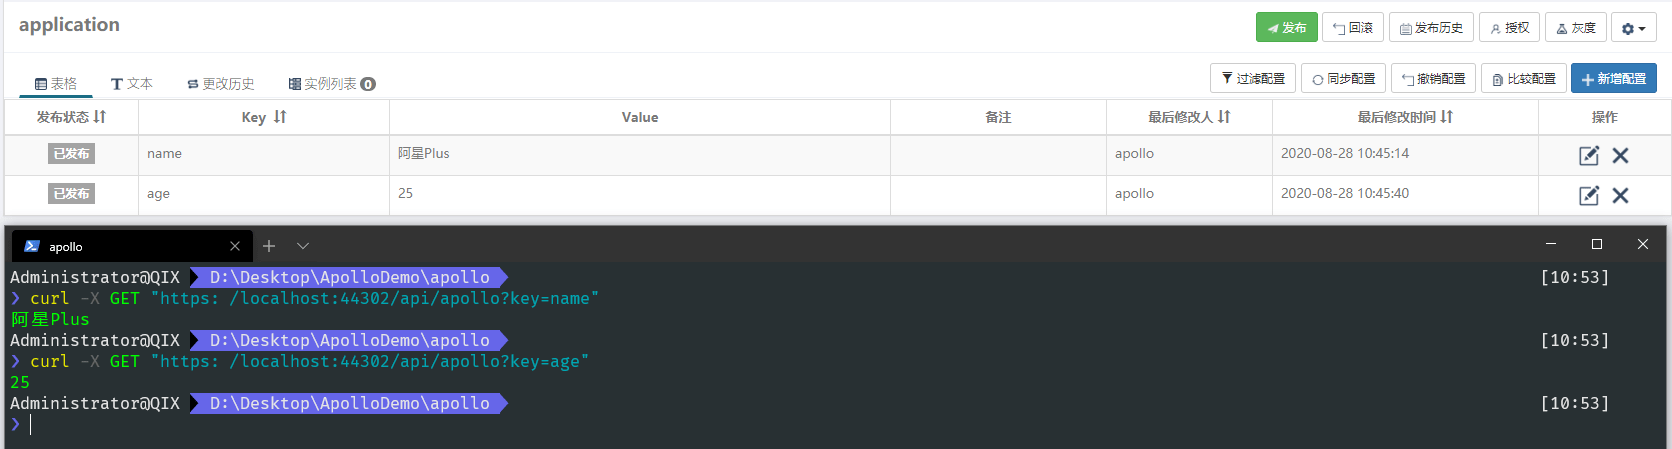
}使用起来也非常简单,这里根据传入的 key 值不同,获取到我们配置在Apollo中的 value,并且是具有热更新,实时动态改变的。
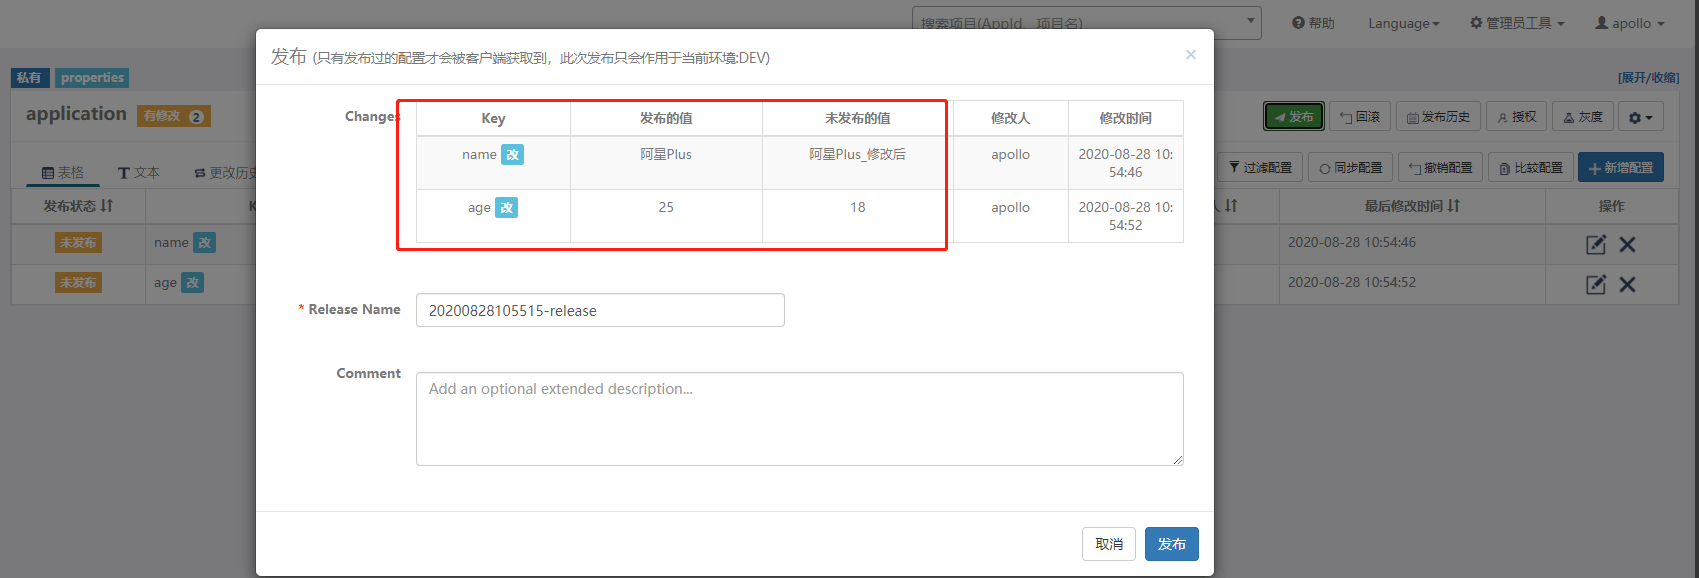
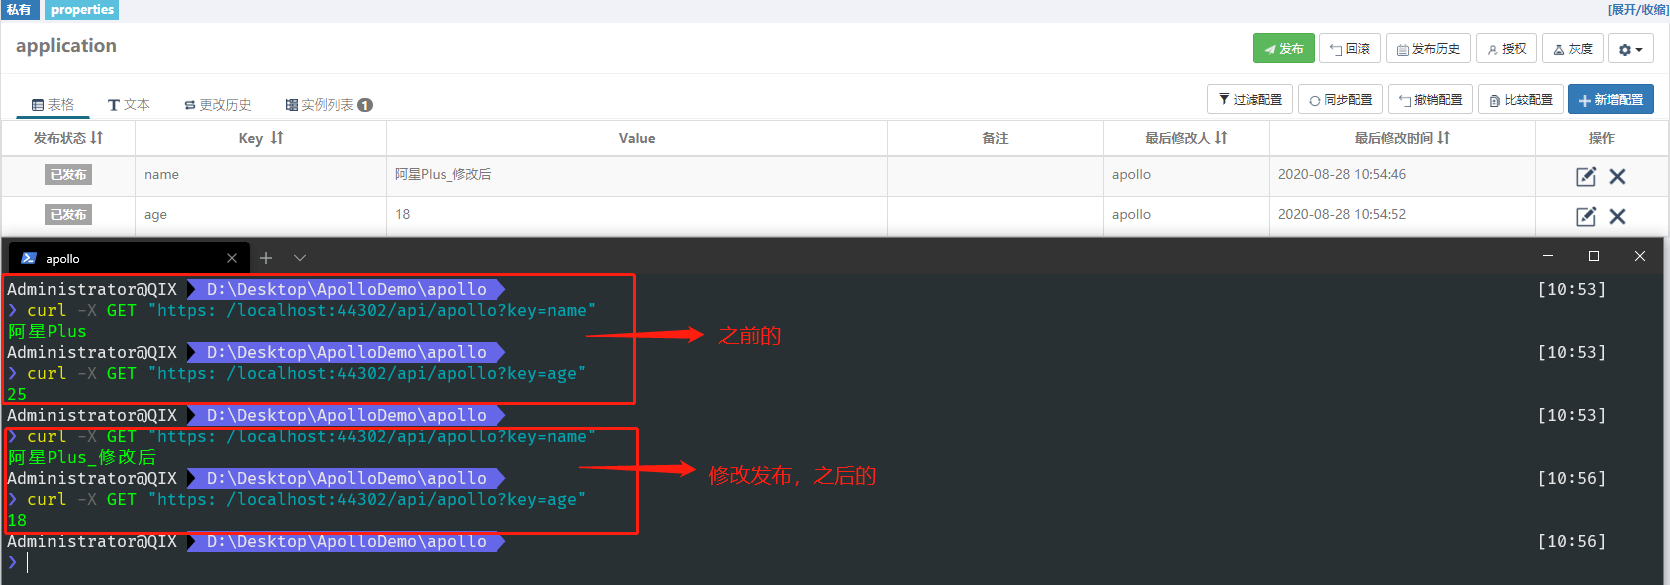
然后修改 name 和 age 的值,在调用接口看看。注意在Apollo中修改后,需要发布才会生效。
简单介绍了 .NET Core 下使用Apollo配置中心,Apollo的功能远不止于此,根据需要可以去 Github 查看官网 Wiki 介绍,有详细的使用说明文档。